Pulsar replaces the original cable inside a first-party Dreamcast controller. Work through the
steps in order and test the board before making the one permanent change to the back shell.
Fasteners
6 screws
Tool
Small Phillips
Modification
1 cable guard
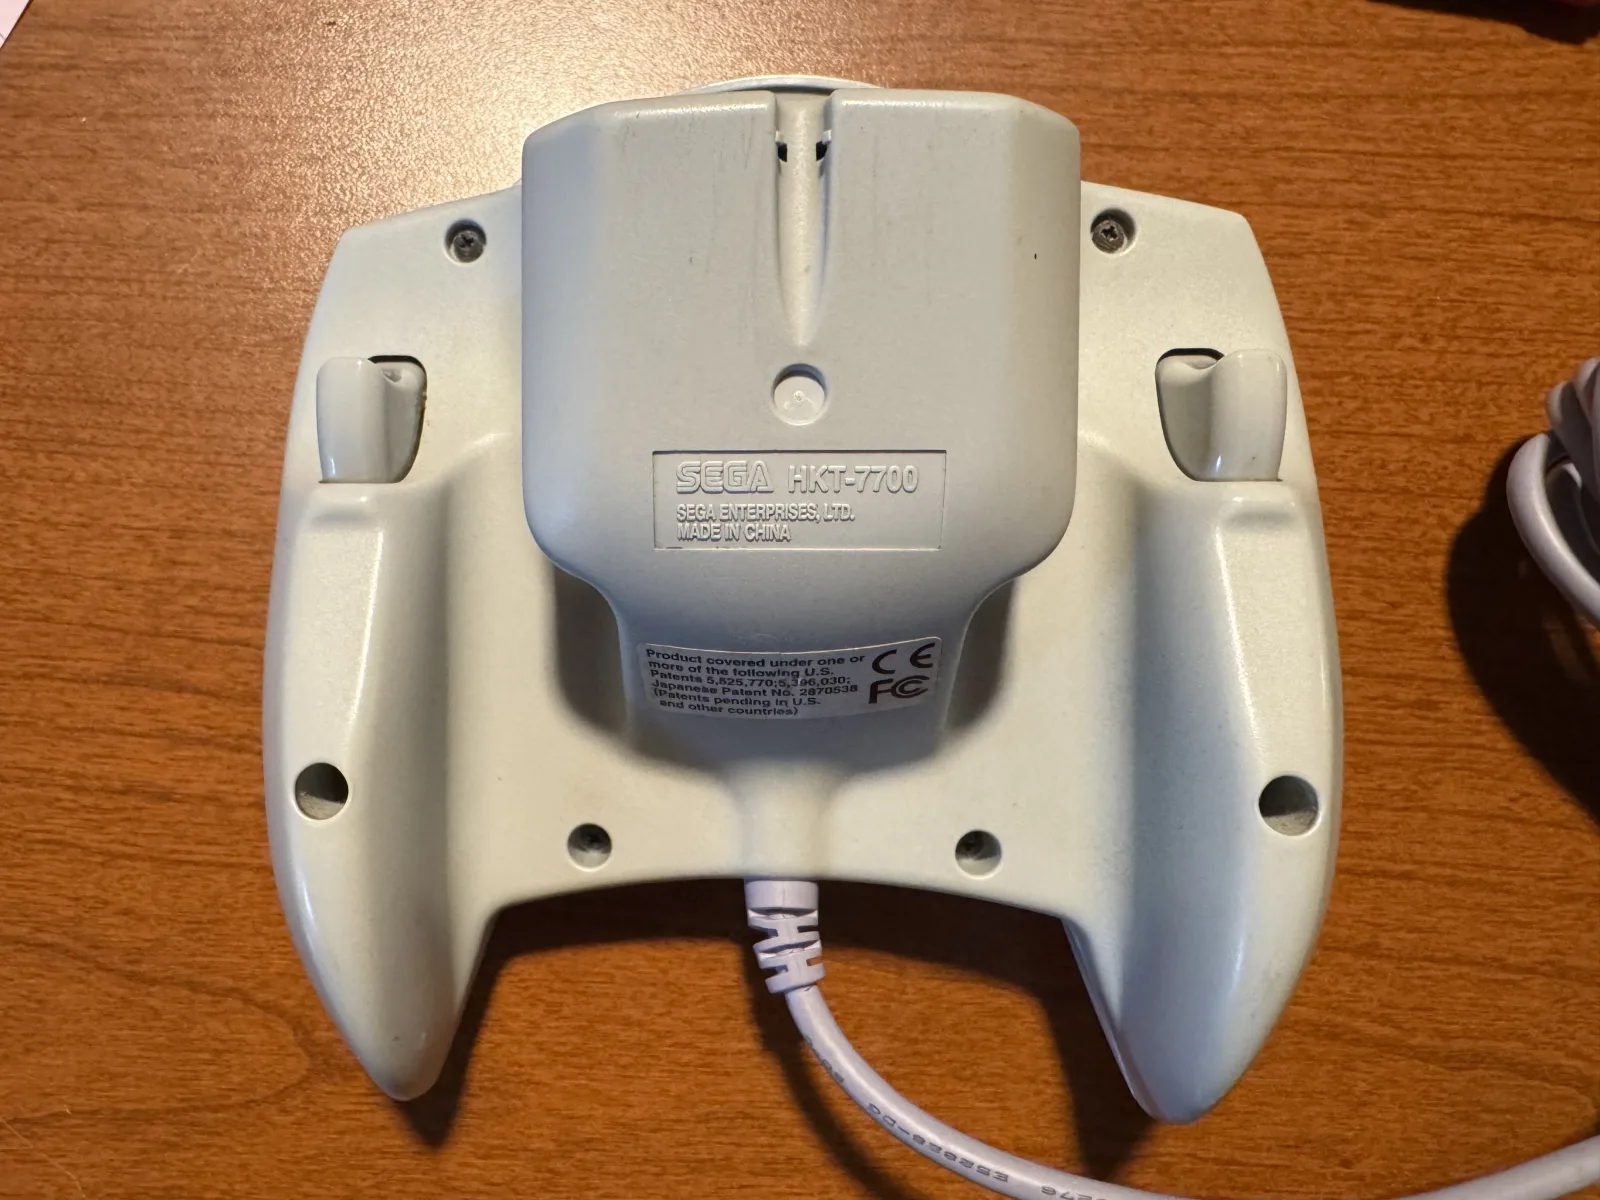
Start with the controller unplugged and face-down on a soft surface.
01
Open
Remove the six back screws
Remove all six Phillips screws from the back of the controller. Lift the back shell straight
up and set it beside the controller. Keep the front half face-down so the buttons stay in
place.
Two screws sit near the cable; four sit around the grips.
02
Disconnect
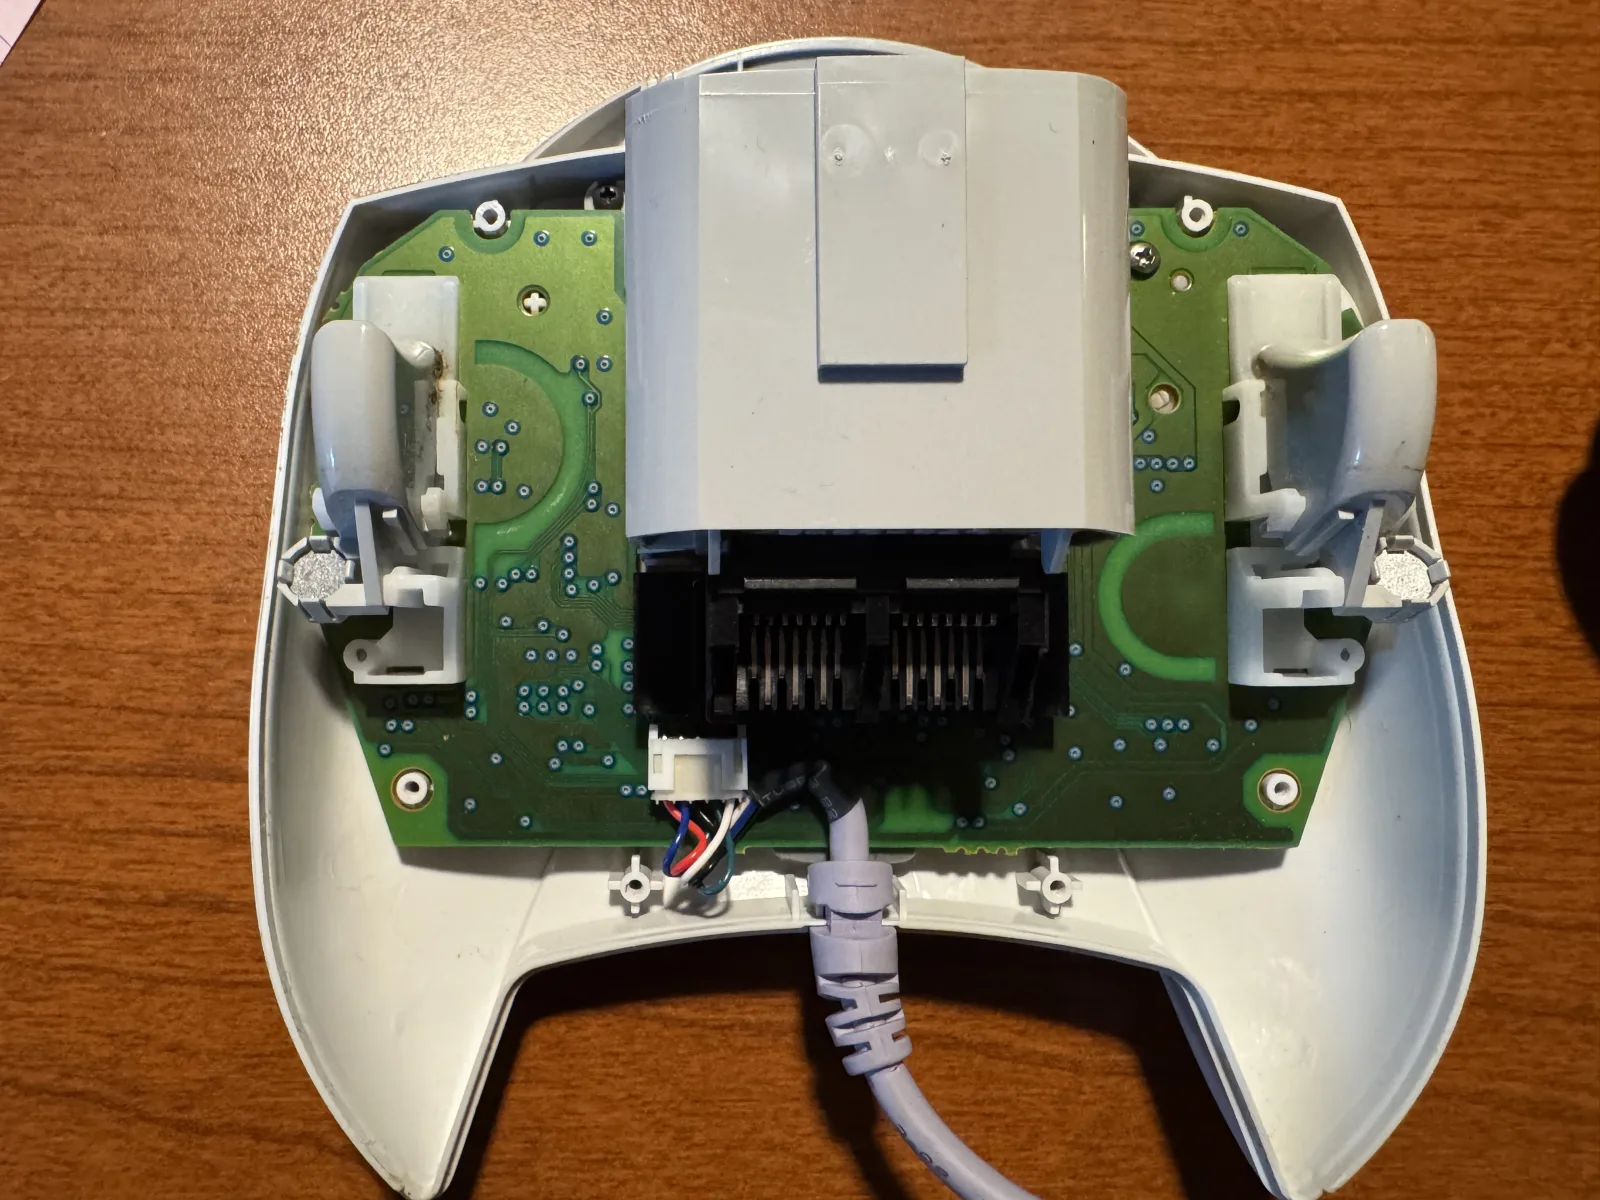
Unplug the original cable
Find the white cable connector beside the accessory slots. Grip the cable close to the plug
and pull it as straight out of the socket as possible. Lift the original cable and its
strain relief out of the controller.
The original cable before removal.
03
Fit
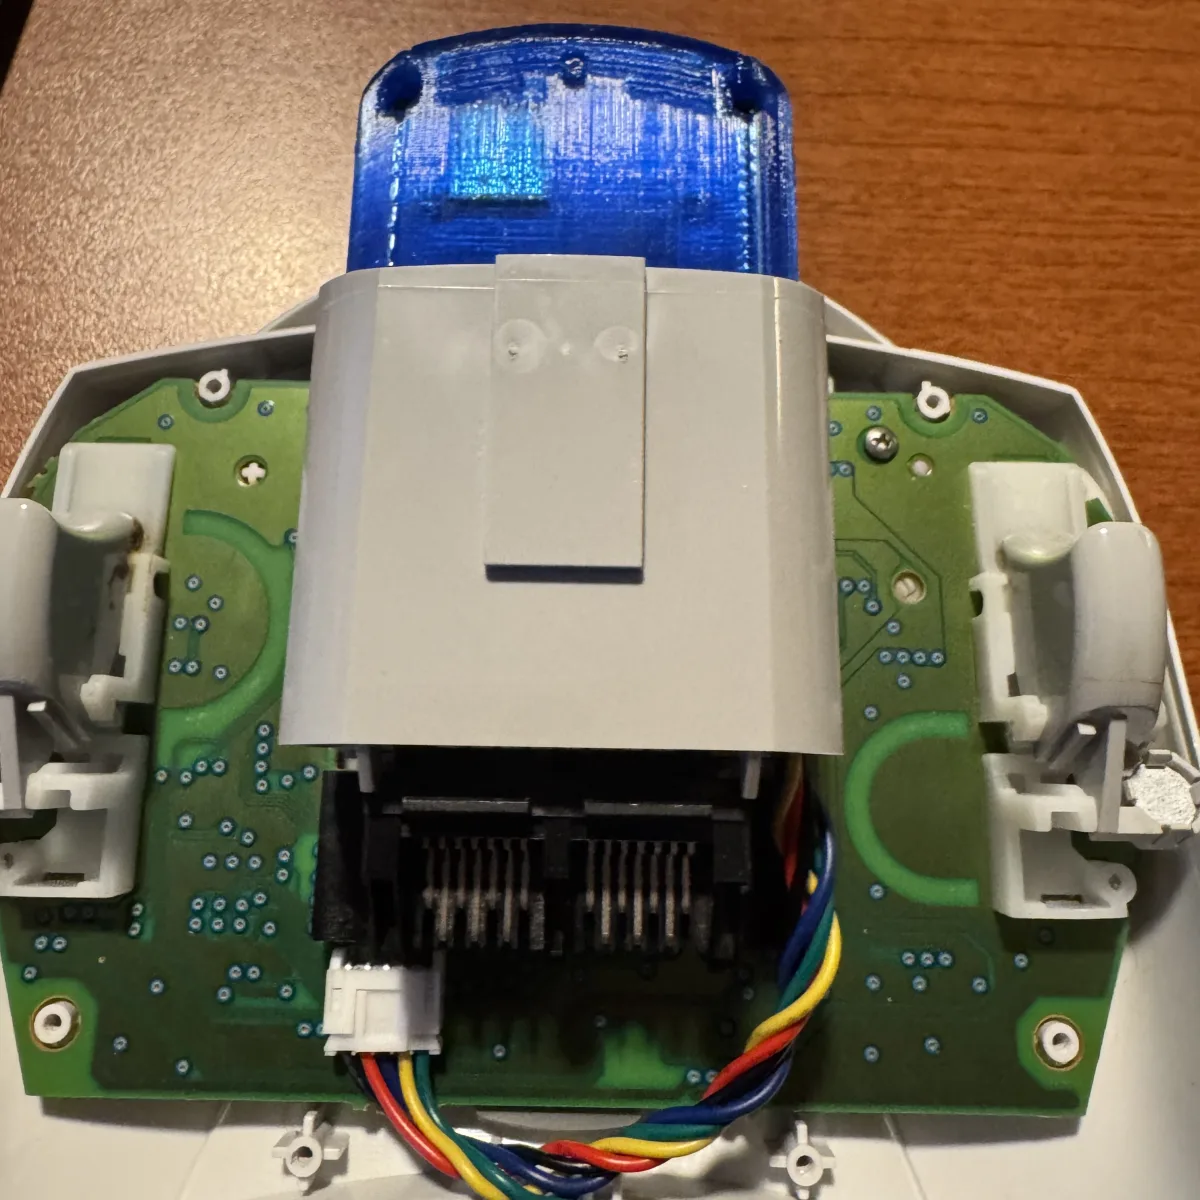
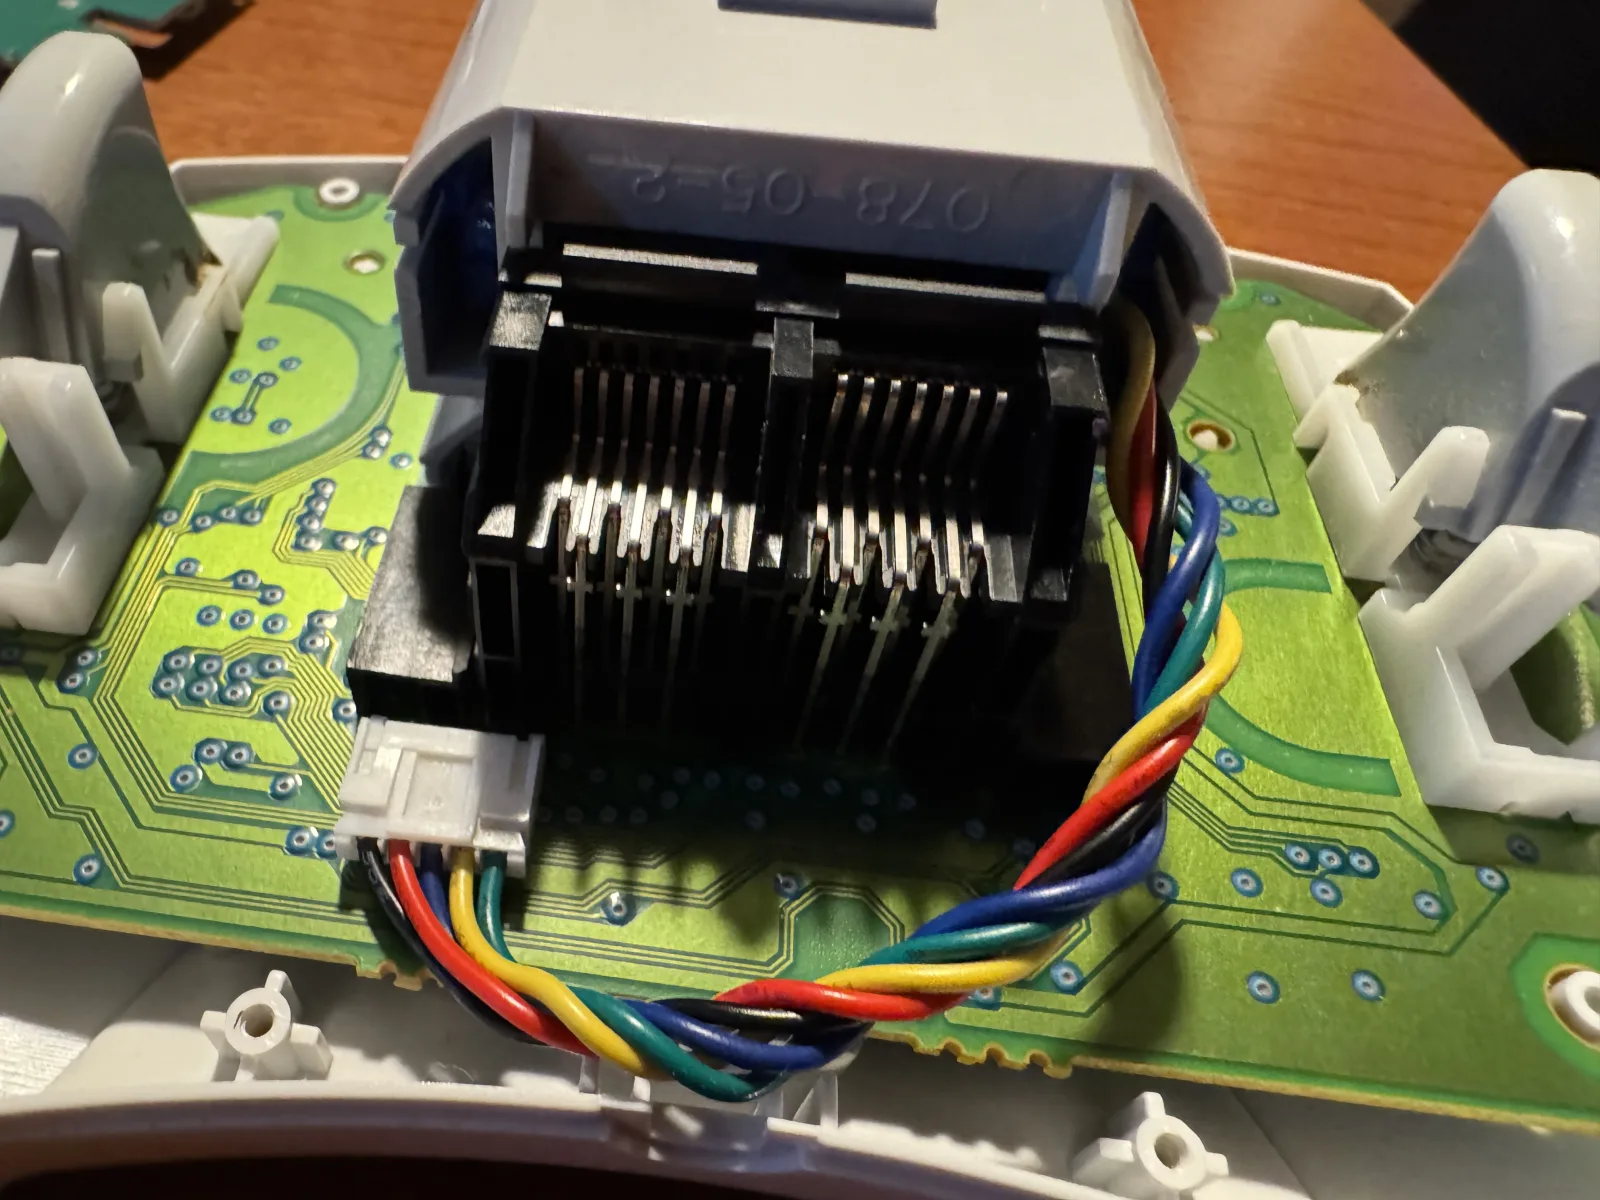
Seat Pulsar in the second slot
Slide Pulsar into the second accessory slot. Route its cable through the right-hand opening
in the bottom of the controller, following the path in the photo, then press its white plug
into the controller connector until it is fully seated.
Second slot, cable routed to the right-hand opening.Use the second of the two accessory slots.Match the plug orientation shown here.
Checkpoint
Pair and test before changing the shell
Press Sync once to wake Pulsar. Then press and hold Sync for about 3 seconds, until the
status LED starts blinking rapidly. Open Bluetooth settings on the device you want to use,
find Xbox Wireless Controller and connect. Before closing the shell, verify the
analog stick and a few buttons in a game or controller test. If Pulsar does not wake or appear,
reseat the white connector now, while everything is still open.
04
Permanent step
Snap off the matching cable guard
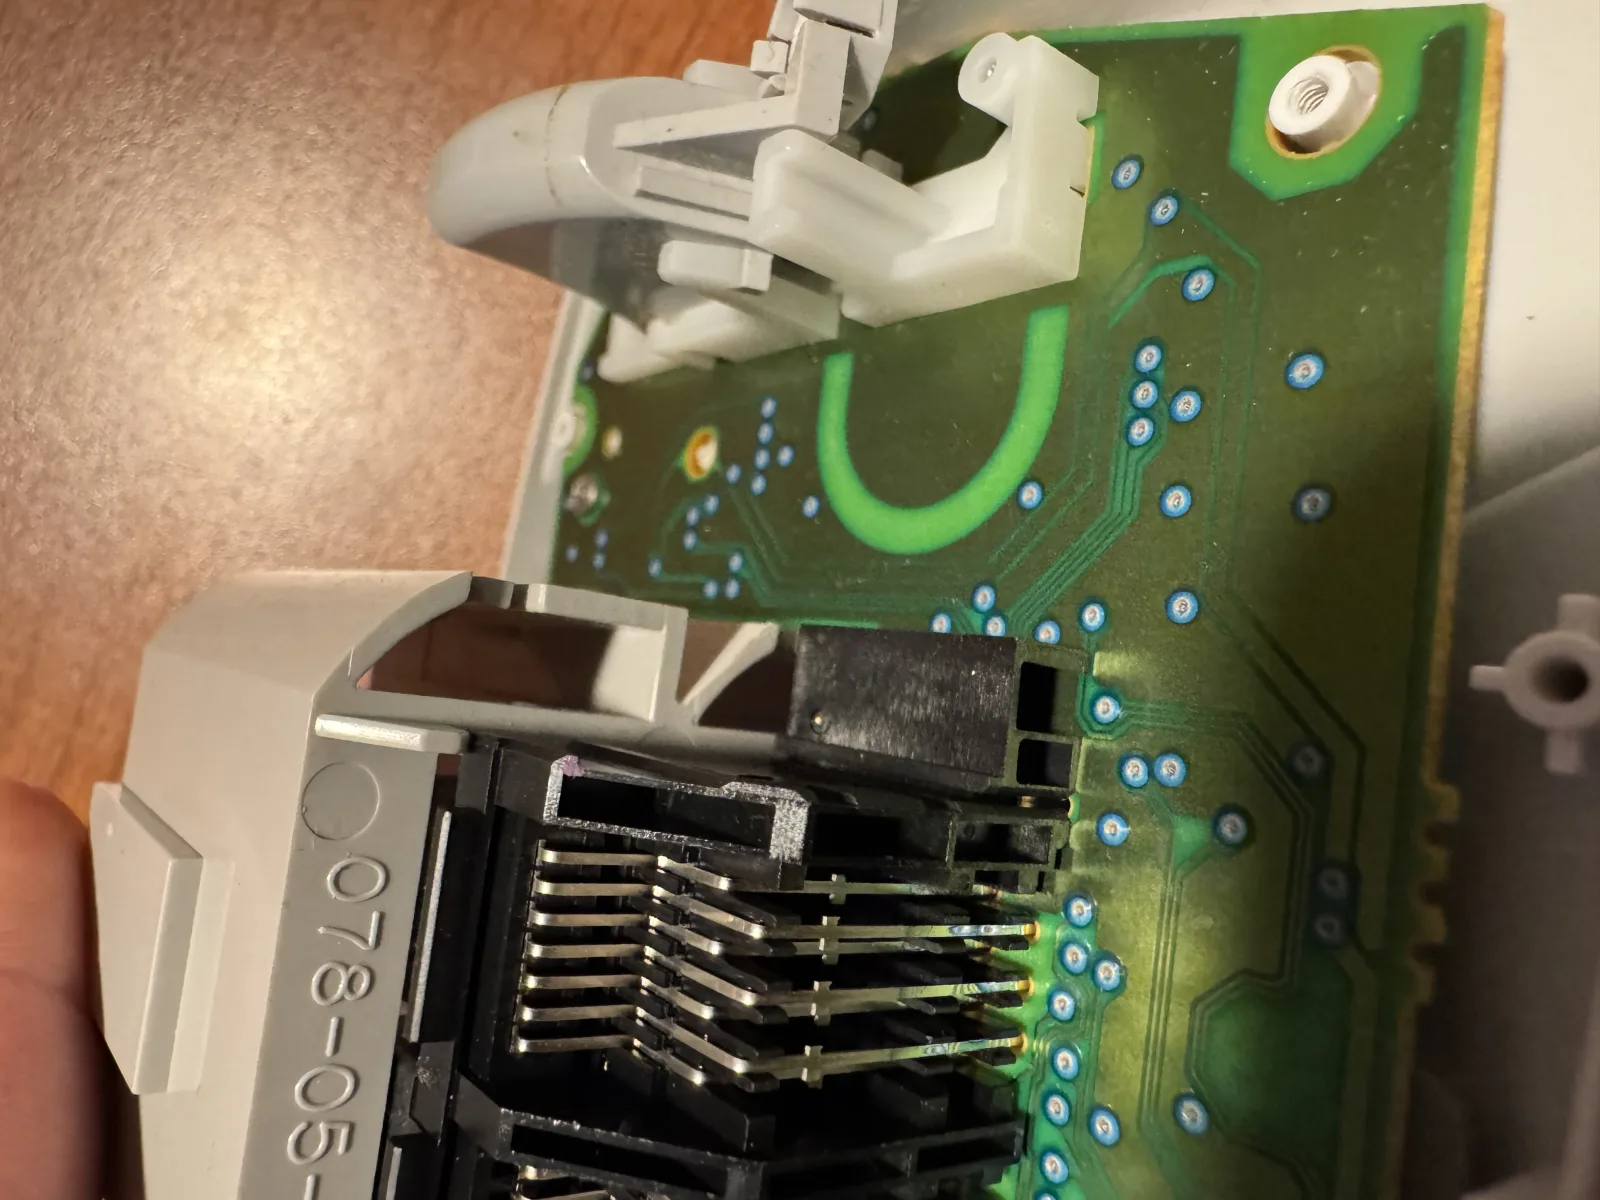
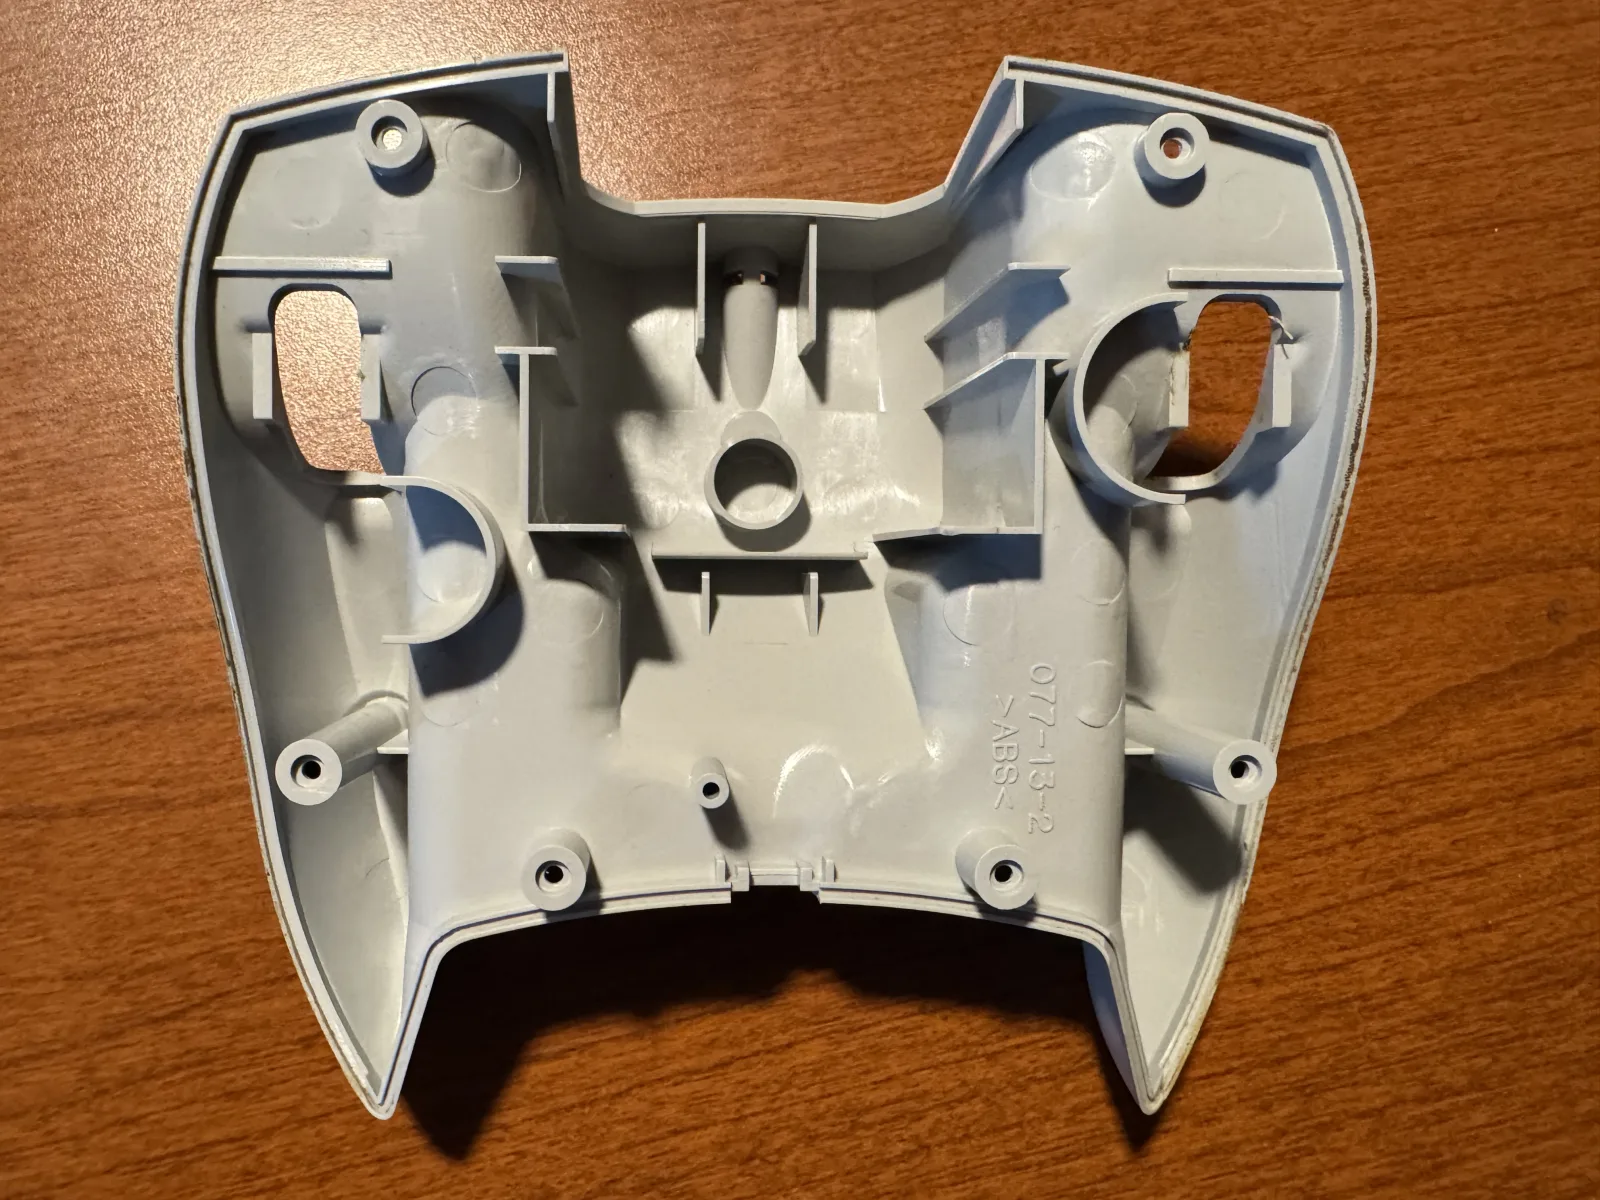
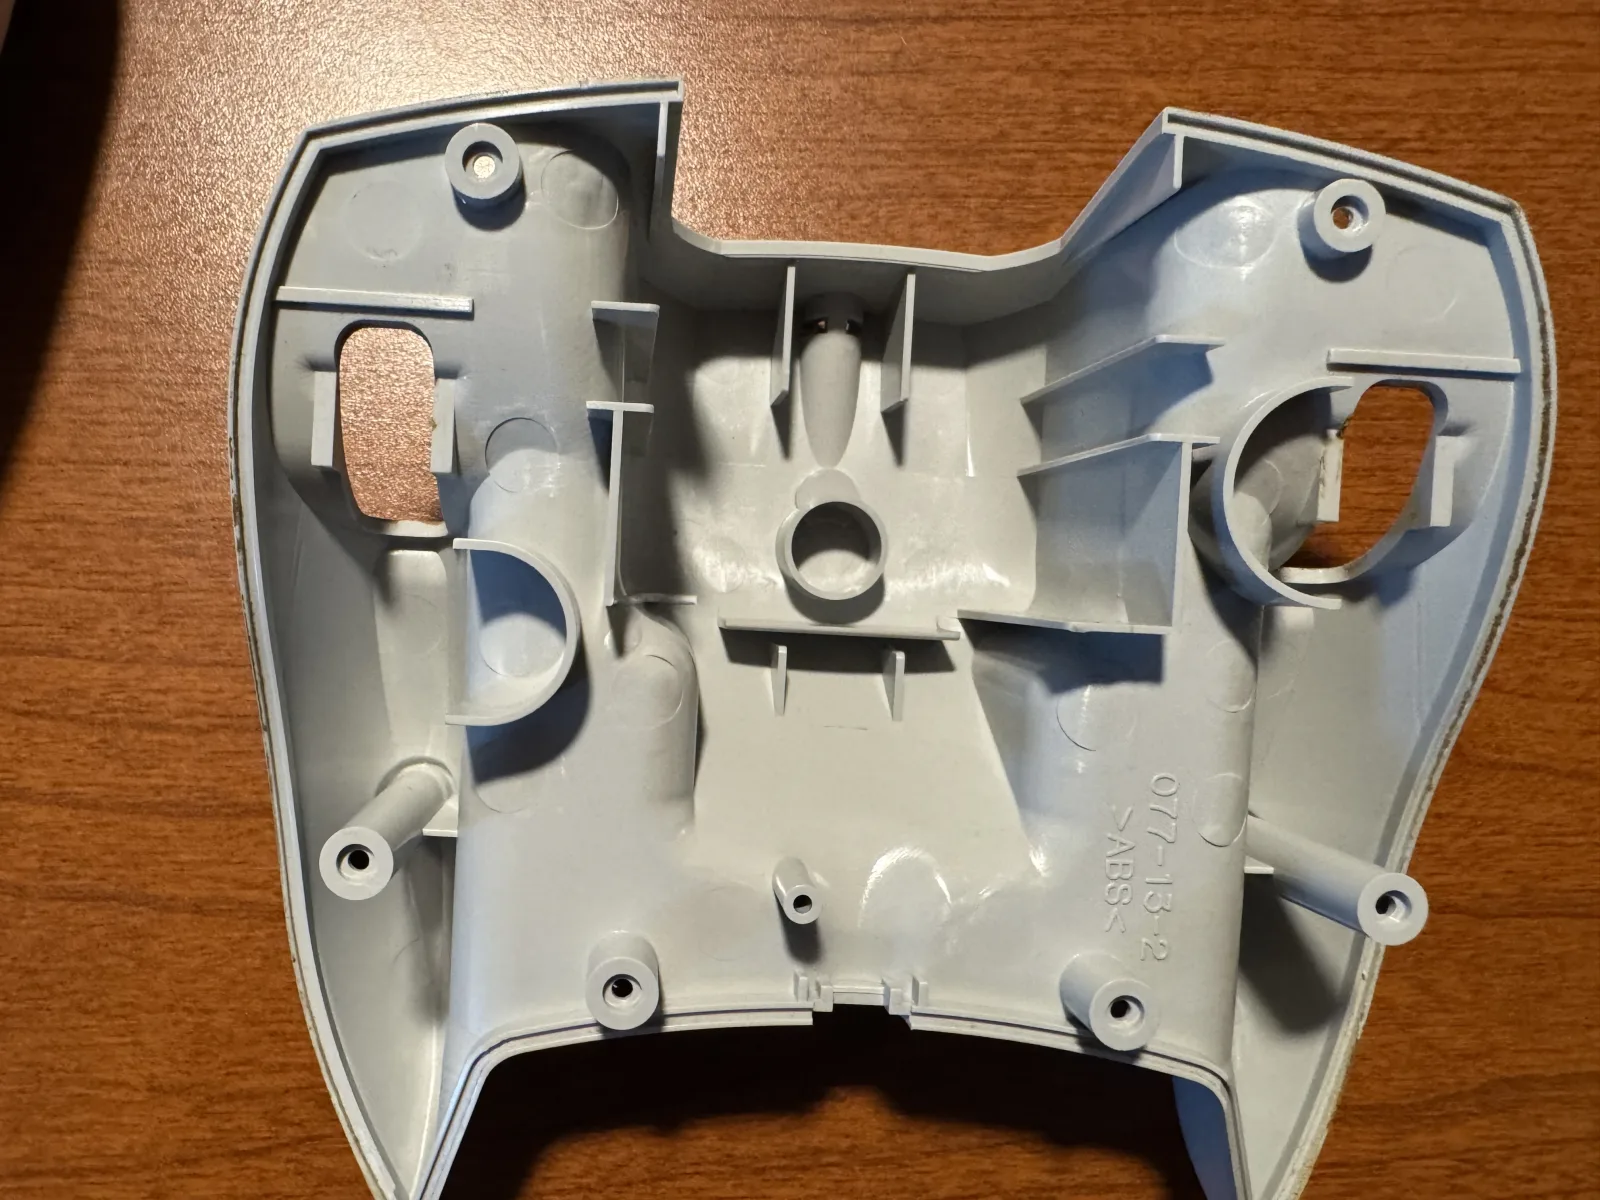
On the inside of the back shell, locate the small plastic guard that lines up with the side
where Pulsar's cable exits. Press the guard sideways with your fingers; it should break away
cleanly at its thin joints.
This permanently changes the shell. Check the cable side twice before you snap anything.
BeforeThe cable guard is still present.AfterThe opening after a clean break.
05
Protect
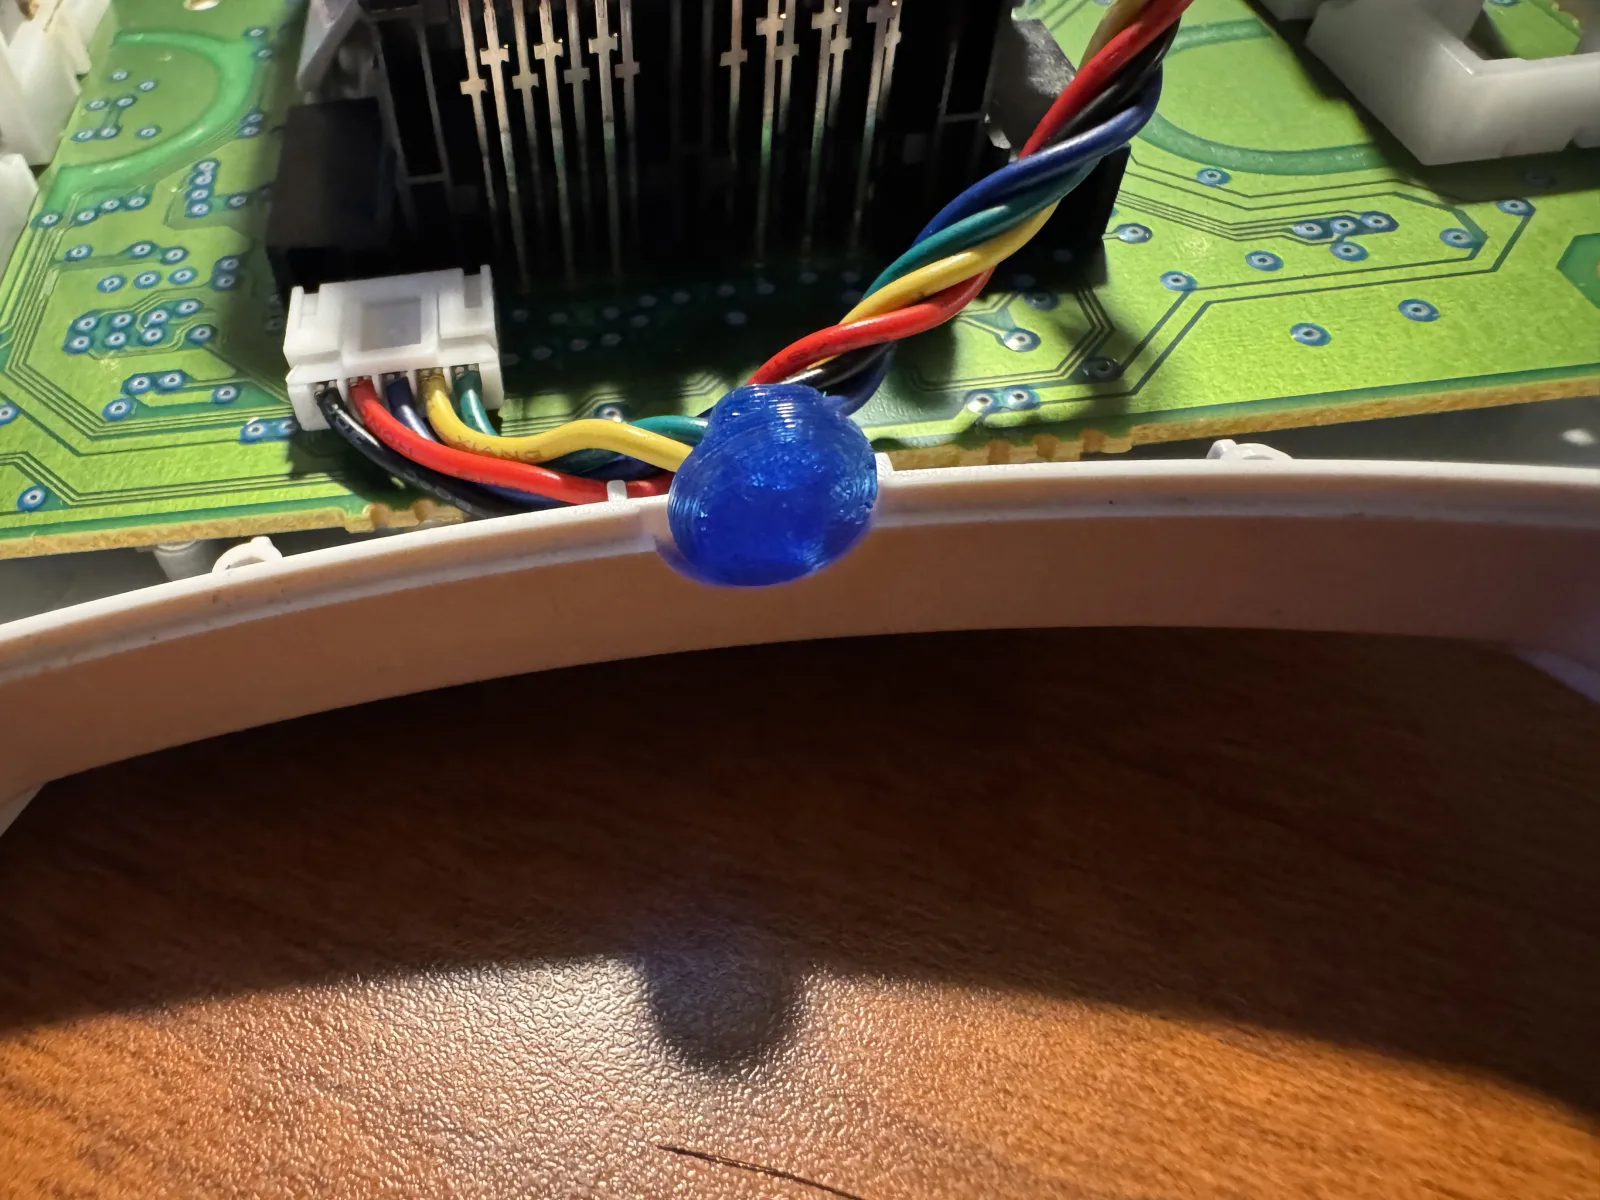
Add the cable cover
Fit the 3D-printed cable cover into the opening around the Pulsar cable. Make sure it is
seated against the shell and that the cable lies naturally without a sharp bend.
The cable cover protects the new exit from the shell edge.
06
Close
Keep the cable clear of the standoff
Lower the back shell into place while watching the screw standoff nearest the cable. The
standoff must land beside the cable, never on top of it. The shell should sit flush without
force; if it does not, lift it and move the cable before trying again.
!
No pinching
A trapped cable can be damaged when the screw is tightened. Do not force the shell shut.
07
Finish
Replace the six screws
Install all six screws and tighten them until snug. Do not overtighten into the old plastic.
Turn the controller over, wake Pulsar with Sync and enjoy your gaming.